

Microsoft Copilot, also known as Windows Copilot, has emerged as a tool designed to enhance productivity on Windows 11. However, there may come a time when you need to turn off or you might want to get rid of Microsoft Copilot. Whether it’s for troubleshooting purposes or simply to free up system resources, turning off Microsoft Copilot is a relatively simple process.
Here’s a step-by-step guide on how to turn off and uninstall Microsoft Copilot on Windows 11.
Turn off Microsoft Copilot
If you simply want to hide the Copilot icon from the taskbar, you can do so in Settings:
- Open the Settings (Win + I) app.
- Click on the Personalization option.
- Under Taskbar items, you will see a toggle called Copilot (preview). Turn it off.

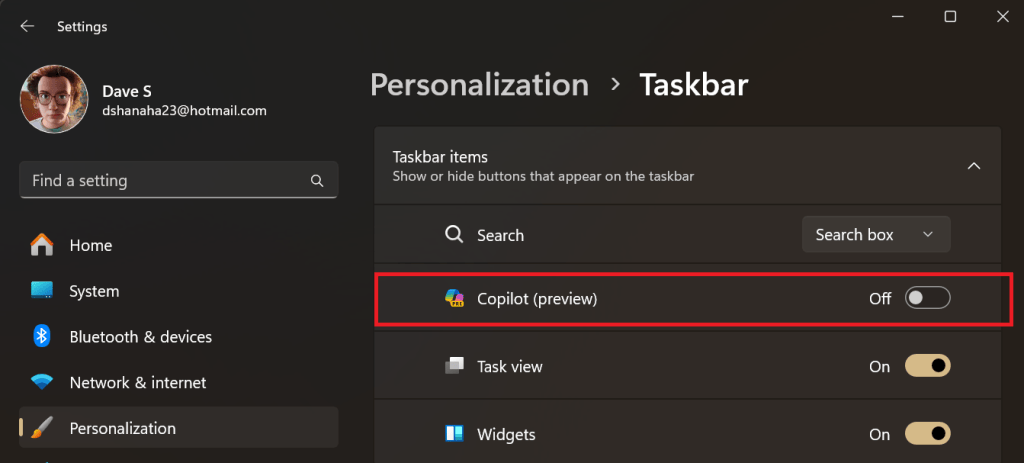
Remember, this will only remove the Copilot shortcut from the taskbar. The feature can still be accessed using the WIN+C combination and it will still run in the background.
To turn off Microsoft Copilot on Windows 11, you can follow different methods depending on the version of Windows 11 you are using.
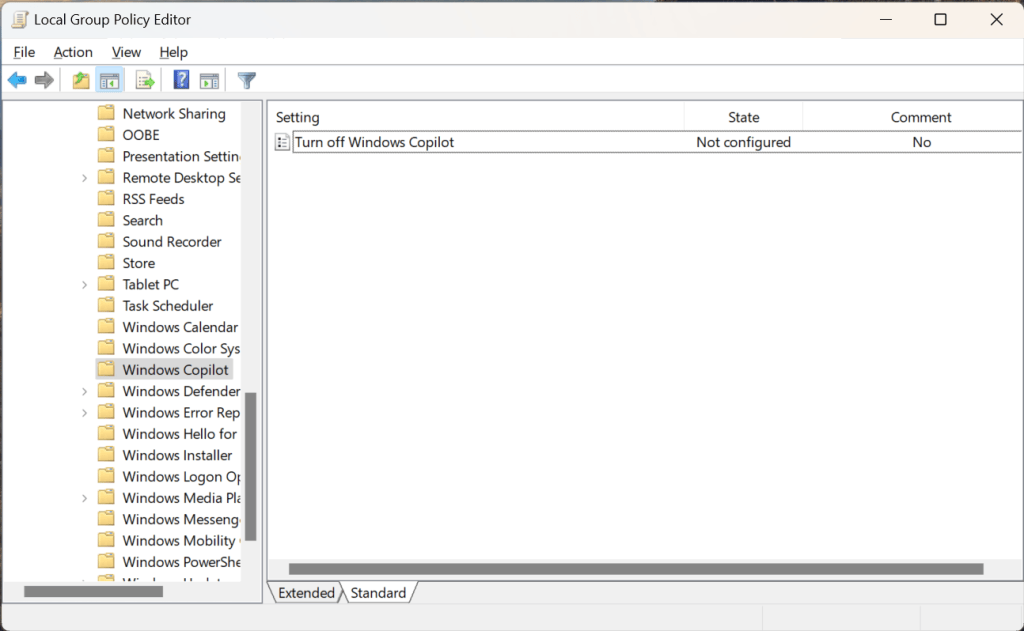
For Windows 11 Pro, Enterprise, or Education, you can use the Group Policy Editor
- Open the Start menu and search for Group Policy Editor.
- Navigate to: User Configuration > Administrative Templates > Windows Components > Windows Copilot.

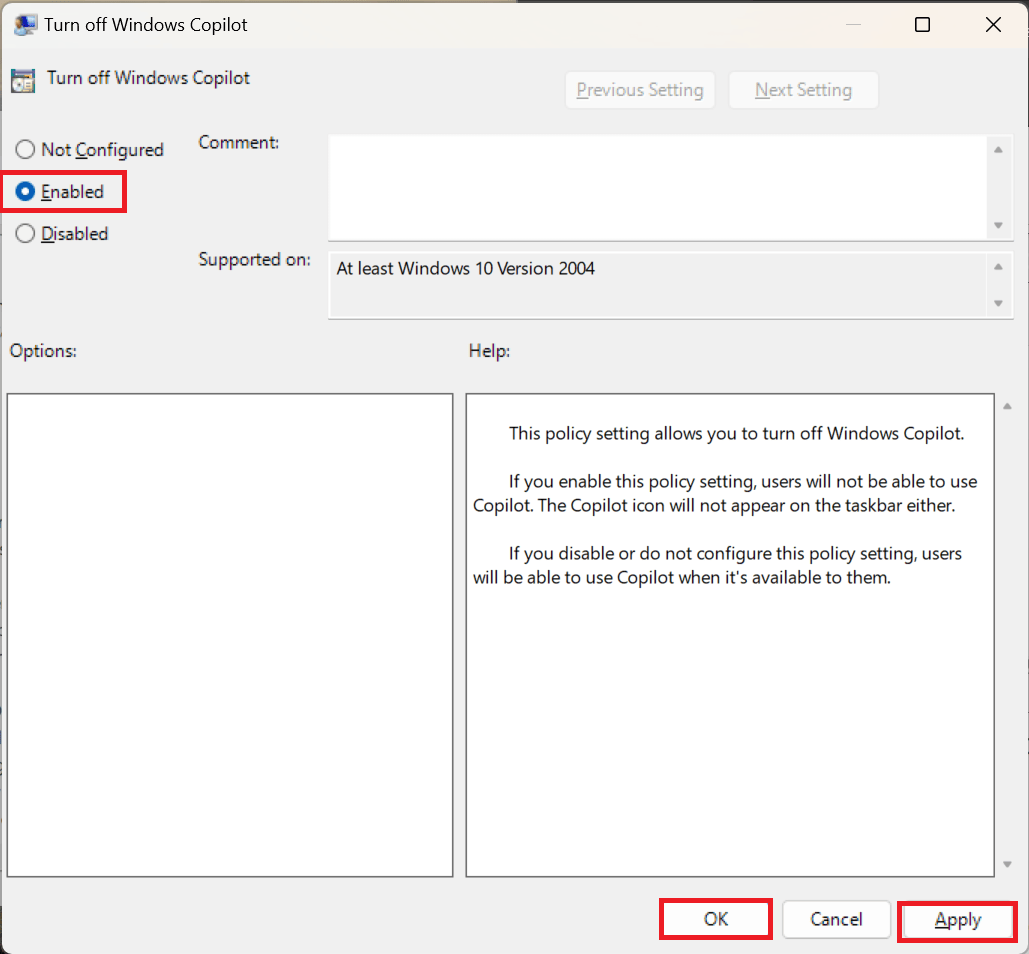
- Double-click the “Turn off Windows Copilot” policy.
- Select the Enabled option.
- Click the Apply button, then the OK button.

- Restart your computer.
For Windows 11 Home, you can modify the Registry
- Type ‘regedit’ in the Start Menu and hit Enter on your keyboard, then click Yes to confirm the User Account Control (UAC) prompt.
- Navigate to:
HKEY_CURRENT_USER\Software\Policies\Microsoft\Windows\WindowsCopilot - If the key “TurnOffWindowsCopilot” does not appear, right-click in an empty area, create a new DWORD (32-bit value) key from the menu, and name it ‘TurnOffWindowsCopilot’.
- Double-click on it, change the value to 1, and then click OK.
- Restart your PC.
Please note that editing the Registry can have serious effects on your system if done incorrectly. Always back up your data and ensure you follow instructions carefully.
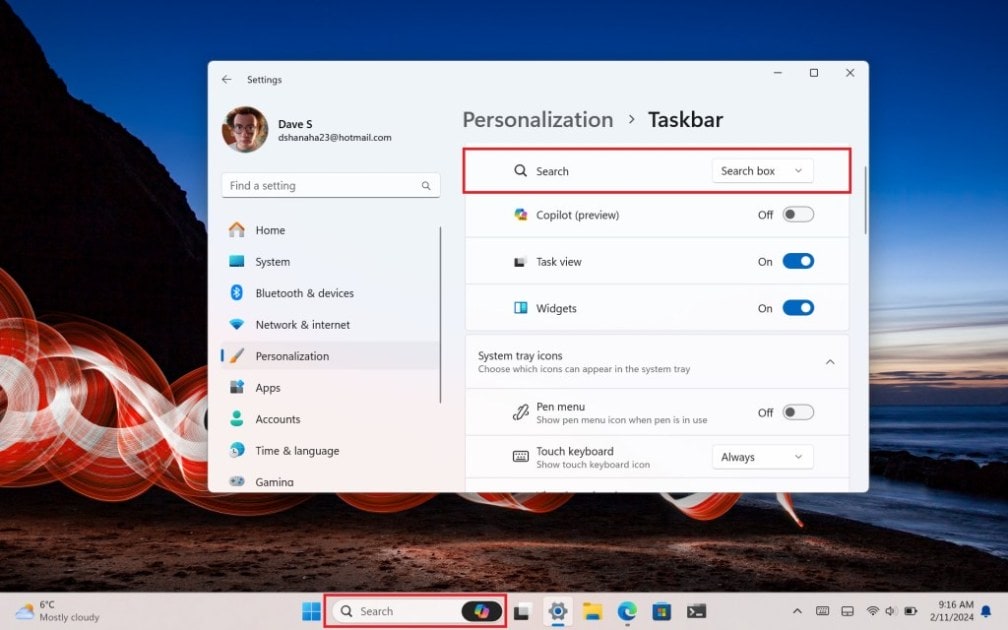
It’s also important to point out that Windows Copilot will automatically appear if you have the Search box option enabled in Windows 11, so be sure to pick a different option to turn off Copilot on your Taskbar.
How do you turn off Copilot on your PC? Let us know in the comments.
Discover more from Microsoft News Today
Subscribe to get the latest posts sent to your email.
